Binche Tips – (not in any particular order) Please note I am only a beginner, these are just points I’ve discovered in my first few weeks of trying this type of lace. ….. Noelene, 6 Jan 2021.
You need to be aware of at least three major stitch types to work Binche. First, the Binche snowflake, small or large, with without a frame, and the Binch “pea”, which looks like a large snowflake set in a ring. There are many, many, varieties of these in cloth stitch or half stitch, and many ways of joining them together. Secondly, Kat stitch, from Point de Paris lace, a ground worked without any pins. And thirdly, cloth stitch and half stitch areas, where pairs can enter, leave, cross over and go in opposite directions, and can be very difficult to keep track of.
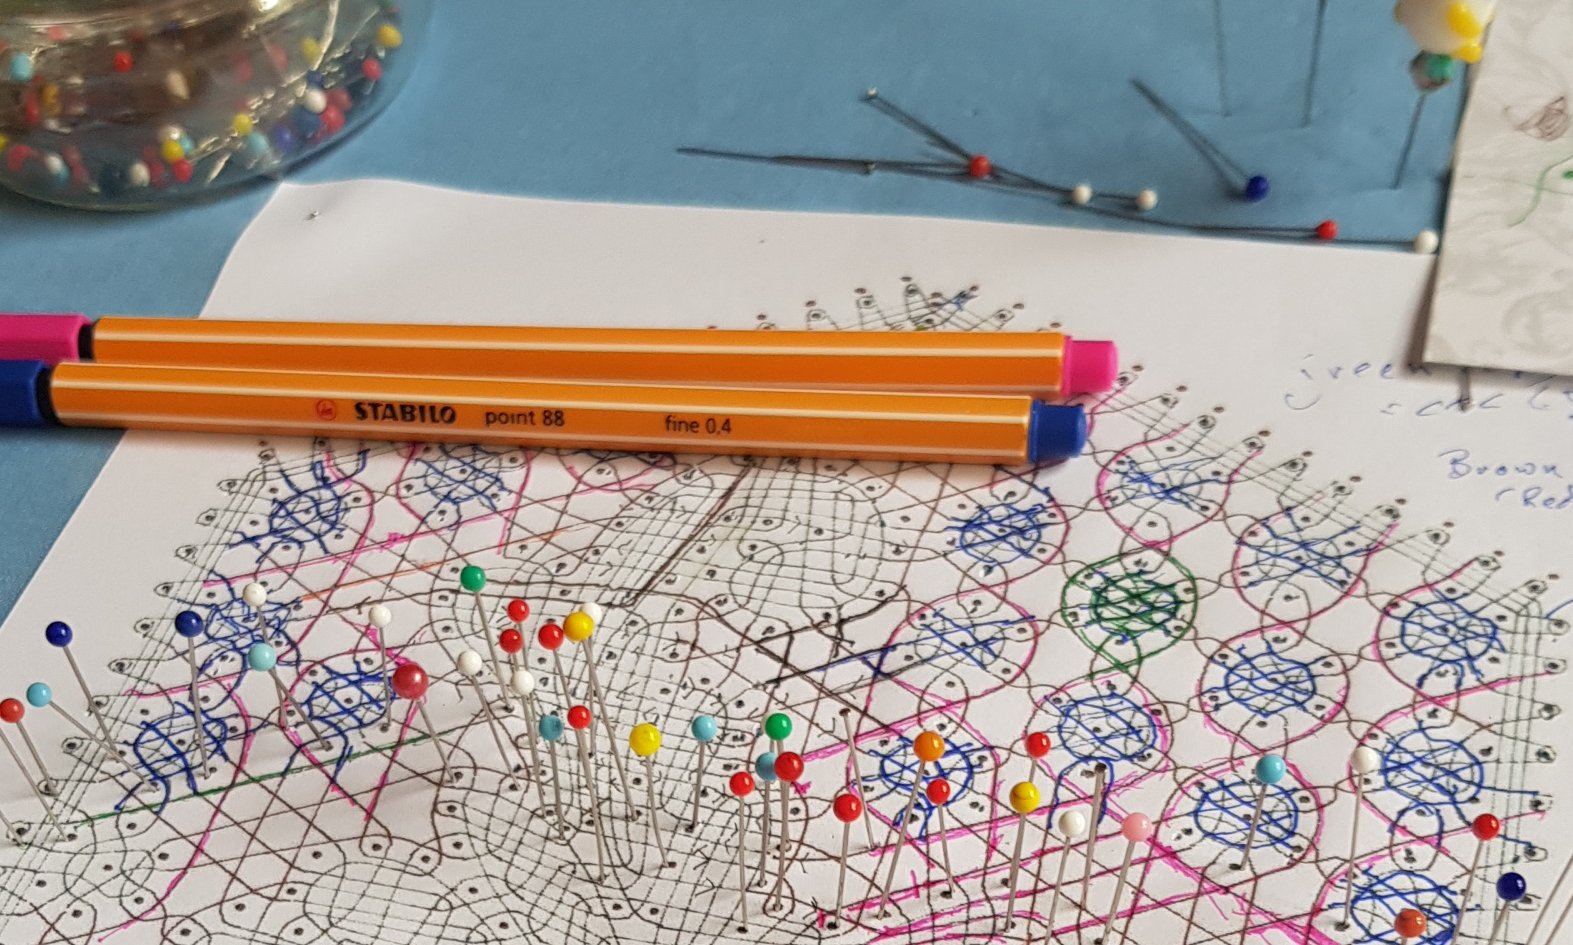
- Make a copy of the working diagram. The colours may not scan/copy “true”. Mark up same stitch areas at least with a colour pencil (e.g., purple to indicate cloth stitch, CTC). This makes it much easier to identify areas.

- Mount working diagram on a piece of polystyrene foam. Use glass headed pins to indicate on the working diagram where you are up to. Place or move a pin every time you do so in your actual work.

- Are you happy with the designe? If not, use a 0.4 Stabilo Fineliner to draw over the snowflakes with thread paths of your snowflake/pea of choice.

- Use tiny coloured hair clips to temporarily mark certain bobbins with their place in the work – e.g., a ring pair for a pea, a ring pair for an area of cloth stitch, the worker for the diagonal in a run of Kat Stitch. Once the special pair goes back into general work, remove the clip. (search ebay.com.au for “mini hair clips”).

- ALWAYS bundle up your bobbins when not in immediate use. I use 2mm rayon cord (“rats tail”) lengths with the ends dipped in nail polish and let to dry (this makes it easier to thread ends through spangles). Believe me, it is worth the minute or so it takes to make up a bundle to keep the bobbins in order.

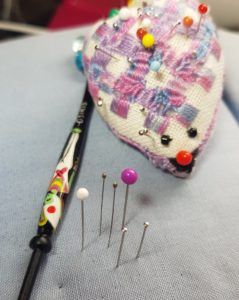
- Because of the way pairs enter and leave cloth stitch areas, they can leave a nasty hole. Try supporting the area with a fine insect pin, available through entosupplies.com.au. Picture below shows how fine they are, compared to my stainless steel 0.5mm “standard pins” and some glass headed pins. To use, place the insect pin upright on the pricking where needed, hold the pin at the top between the left hand thumb and forefinger, and gently tap on the head with the right hand forefinger, which made the tip of the pin pierce the pricking easily. If you just tried to push it down, it would bend.
- With cloth stitch areas, I draw tiny arrow heads on the working diagram to show which direction the worker is going through the cloth stitch. I do this as I go, not in advance. That way I know which line I am up to. (Picture to follow).